Tip: If you use an on-site tool, internally link to your Aspect Ratio Calculator here.
Key takeaways
- Match shapes: 3:2 photos fit 4×6 / 8×12 / 12×18 / 16×24 / 20×30 / 24×36 with no cropping.
- 300 PPI is ideal for handheld prints; 150–240 PPI is fine for larger wall prints.
- Bleed: add 0.125″ (3 mm) per side when required; keep text inside a safe margin.
- Don’t guess: check your lab’s spec sheet for bleed, file type, and color profile.
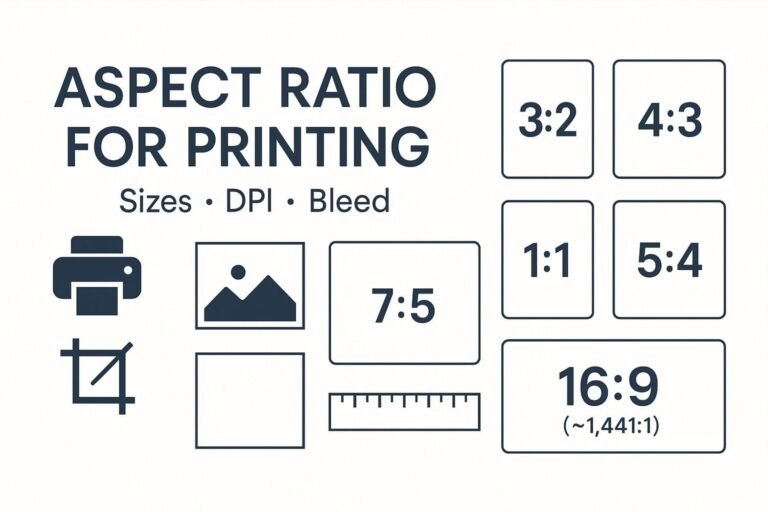
What is “aspect ratio for printing”?
Aspect ratio describes an image’s shape as width:height. Common photo ratios: 3:2 (full-frame/APS-C), 4:3 (phones, MFT), 1:1 (square), 5:4 (8×10 portraits), 7:5 (5×7), 16:9 (widescreen), and A-series (~1.414:1 for A5/A4/A3). Prints also have ratios; the goal is to pick a print size with the same shape to avoid unwanted cropping.
Aspect ratio → matching print sizes
Use the column that matches your image’s ratio to minimize cropping.
| Aspect ratio | Sources | Best-matching print sizes (inches) |
|---|---|---|
| 3:2 | DSLR/ML full-frame & APS-C | 4×6, 8×12, 12×18, 16×24, 20×30, 24×36 |
| 4:3 | Most smartphones, MFT | 6×8, 9×12, 12×16, 18×24 |
| 1:1 | Square crop | 5×5, 8×8, 10×10, 12×12, 20×20 |
| 5:4 | Portrait classics | 8×10, 16×20 |
| 7:5 | Traditional 5×7 | 5×7, 10×14 |
| 16:9 | Widescreen video/phones | 10×17.78, 12×21.33 (often cropped to 3:2 or 4:3 for labs) |
| A-series (~1.414:1) | A5/A4/A3 paper | A5 (5.83×8.27″), A4 (8.27×11.69″), A3 (11.69×16.54″) |
Note: If your print size isn’t listed under your ratio, expect to crop or add borders.
Print size → required pixels (300/240 PPI)
Pixels needed = inches × PPI (per side). Here are the most requested sizes:
| Print size (in) | Aspect ratio | Pixels @ 300 PPI | Pixels @ 240 PPI |
|---|---|---|---|
| 4×6 | 3:2 | 1200 × 1800 | 960 × 1440 |
| 5×7 | 7:5 | 1500 × 2100 | 1200 × 1680 |
| 8×10 | 5:4 | 2400 × 3000 | 1920 × 2400 |
| 8×12 | 3:2 | 2400 × 3600 | 1920 × 2880 |
| 11×14 | 11:14 | 3300 × 4200 | 2640 × 3360 |
| 12×18 | 3:2 | 3600 × 5400 | 2880 × 4320 |
| 16×20 | 5:4 | 4800 × 6000 | 3840 × 4800 |
| 16×24 | 3:2 | 4800 × 7200 | 3840 × 5760 |
| 20×30 | 3:2 | 6000 × 9000 | 4800 × 7200 |
| 24×36 | 3:2 | 7200 × 10800 | 5760 × 8640 |
| A4 (8.27×11.69) | ~1.414:1 | 2481 × 3507 | 1985 × 2806 |
| A3 (11.69×16.54) | ~1.414:1 | 3507 × 4962 | 2806 × 3970 |
| 12×12 | 1:1 | 3600 × 3600 | 2880 × 2880 |
Reality check: A 12 MP (≈4000×3000 px) 4:3 image looks great up to roughly 10×13.3″ at 300 PPI, and much larger for wall viewing at 150–240 PPI.
Bleed, borders & safe margins
Bleed extends artwork beyond the trim so you don’t get white slivers after cutting. Many photo labs handle borderless overscan automatically; press/pro labs usually require you to add bleed.
| Where you print | Typical bleed | Safe margin |
|---|---|---|
| Photo lab (borderless) | 0–0.125″ overscan (lab-dependent) | ≥ 0.1–0.2″ inside |
| Pro lab / print shop / press | 0.125″ (3 mm) each side | ≥ 0.125–0.25″ inside |
| Home printer (no borderless) | None | Respect device margins (~0.25–0.5″) |
Canvas with bleed = final width + (2 × bleed) by final height + (2 × bleed). Example: 8×10″ with 0.125″ bleed → 8.25×10.25″ (at 300 PPI = 2475×3075 px).
When the ratios don’t match: 3 options
- Crop (cover): Fill the paper edge-to-edge, trimming excess. Most natural look; watch faces, hands, and signatures near edges.
- Fit with borders (contain): Keep the entire image; add white/colored borders to fill the paper—great for frames and galleries.
- Change the print size: Pick a size that matches your image ratio (use the tables above).
Pro tip: While shooting, keep “action-safe” space near edges so later crops don’t cut essential details.
Step-by-step workflow (any editor)
- Choose the print size and confirm its aspect ratio.
- Decide crop vs borders if your image’s ratio doesn’t match the paper.
- Add bleed if required (commonly 0.125″ each side).
- Calculate pixels (300 PPI for handheld; 150–240 PPI for larger viewing distance).
- Resize/resample and apply gentle output sharpening.
- Export in the file type and color profile your lab requests.
- Proof: soft-proof if available; keep text/logos inside safe margins.
File formats & color profiles
- JPEG (high quality): ideal for photo labs and small file sizes.
- TIFF / PNG: lossless for press work, graphics, or text on flat colors.
- Color space: sRGB is safest for consumer labs; follow pro lab/press specs if they require Adobe RGB or CMYK.
FAQ: Aspect ratio for printing
What is the best aspect ratio for printing photos?
There isn’t a single “best”—use the ratio that matches your image. 3:2 is the most flexible in consumer labs thanks to 4×6, 8×12, 12×18, 16×24, etc.
How do I avoid cropping when printing?
Pick a print size with the same ratio as your photo, or print with borders. Example: a 4:3 phone photo fits 6×8 or 12×16 without cropping.
Is 300 PPI required for every print?
Use 300 PPI for close-view handheld prints. For wall prints, 150–240 PPI usually looks excellent due to viewing distance.
How much bleed should I add for printing?
Commonly 0.125″ (3 mm) on each side for pro labs/press. Some photo labs overscan automatically for borderless output—check their specs.
What’s the aspect ratio of 8×10?
8×10 is 5:4. 3:2 images need a crop to print at 8×10.
Which sizes match 3:2 without cropping?
4×6, 8×12, 12×18, 16×24, 20×30, 24×36.
Which sizes match 4:3 without cropping?
6×8, 9×12, 12×16, 18×24, plus A-series if you crop slightly to ~1.414:1.
Can I print 16:9 phone photos without cropping?
Most labs don’t stock true 16:9 sizes. You can preserve 16:9 by printing with borders (e.g., 10×17.78) or crop to 3:2 / 4:3.
What pixel dimensions do I need for A4 at 300 PPI?
A4 (8.27×11.69″) at 300 PPI is 2481 × 3507 px. With 0.125″ bleed per side, export 2556 × 3582 px.
Should I use sRGB or Adobe RGB?
Use sRGB unless your lab/press explicitly requests Adobe RGB or CMYK.