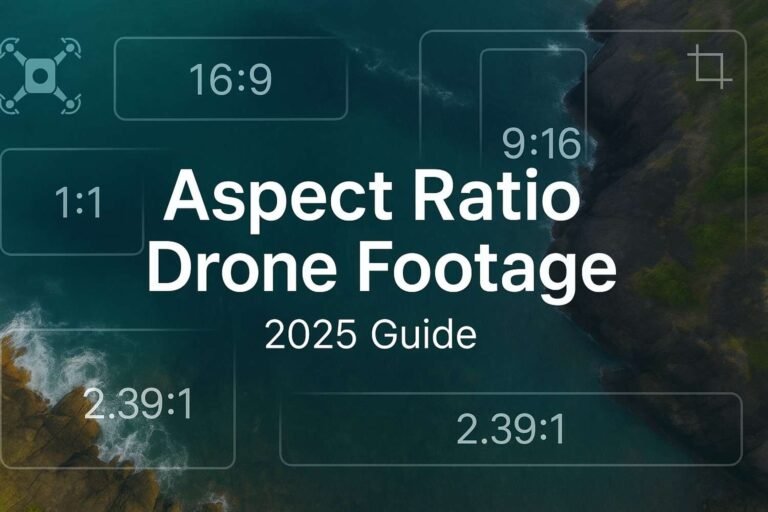
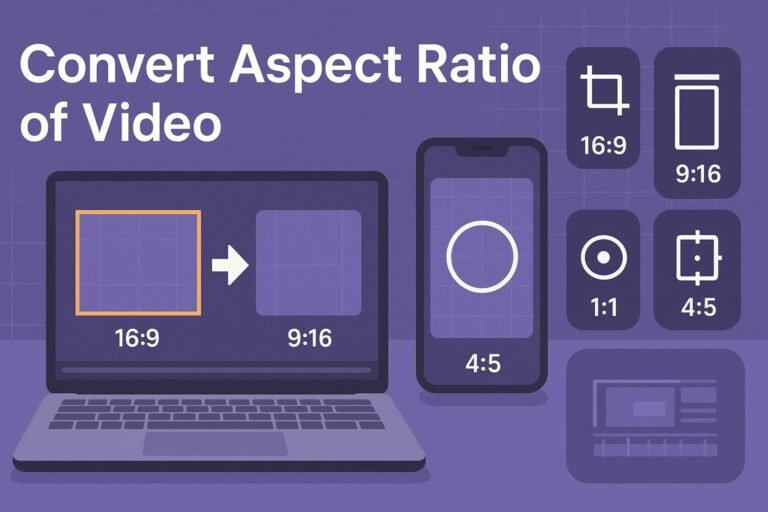
Need to repurpose widescreen footage for TikTok, Instagram Reels, or YouTube Shorts? This guide shows the safest ways to convert aspect ratio of a video—crop, pad, or smart reframe—so faces don’t stretch, edges stay sharp, and your export passes platform checks.
TL;DR – Quick Wins
- Three methods: Crop (clean look), Pad (no content loss), Smart Reframe (AI subject tracking).
- Keep quality: crop before scaling, use
lanczosscaler, avoid unnecessary upscaling, match frame rate. - Fastest route: Auto Reframe (Premiere), Smart Conform (Final Cut), Smart Reframe (Resolve), Auto Reframe (CapCut).
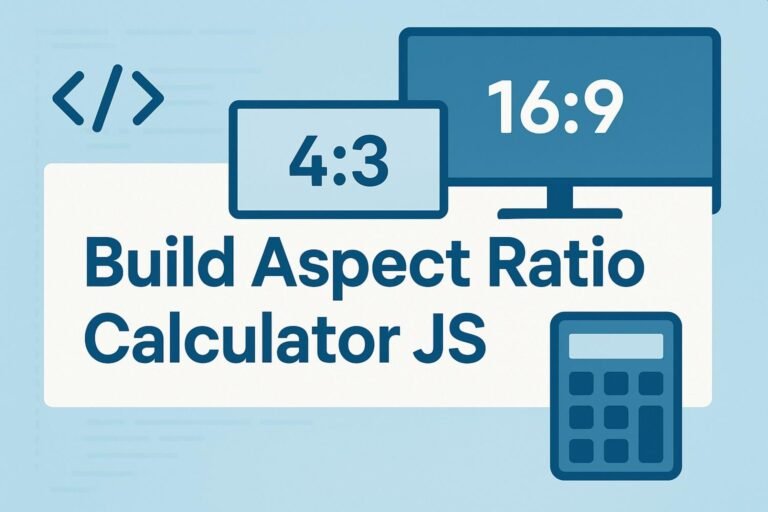
- Exact math: Use an Aspect Ratio Calculator to get clean dimensions.
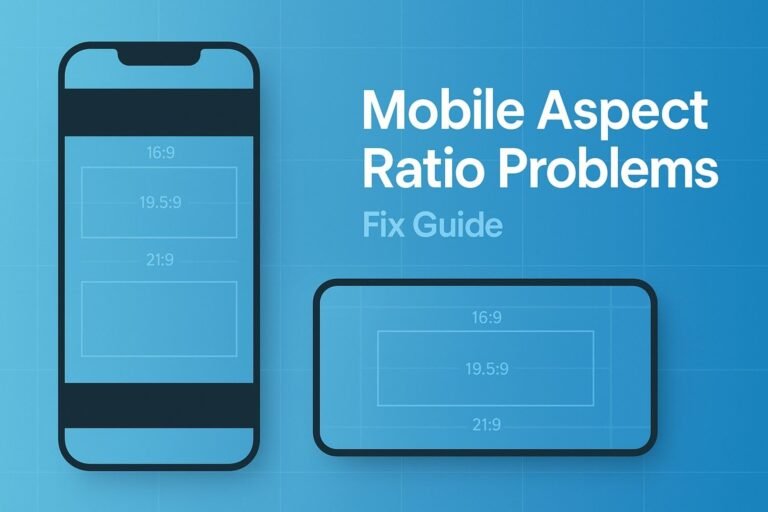
1) Aspect Ratio Basics
Aspect ratio is the frame’s width:height (e.g., 16:9, 9:16, 1:1, 4:5). It’s different from resolution (total pixels). For instance, 1920×1080 and 1280×720 are both 16:9.
Your goal when you convert aspect ratio video is to keep your subject framed well while matching the platform’s shape requirements.
2) Choose the Right Strategy: Crop, Pad, or Smart Reframe
- Crop: Removes edges to fill the new frame. Best look, but you’ll lose some content on sides/top/bottom.
- Pad (letterbox/pillarbox): Adds bars to hit the new ratio. No content loss, but visible borders (use brand color or blur fill).
- Smart Reframe (AI): Auto tracks faces/action and keeps them centered in the new ratio—ideal for 16:9 → 9:16 shorts.
Rule of thumb: For social repurposing, start with smart reframing; use crop for simple/static shots; use pad when you must preserve the entire frame.
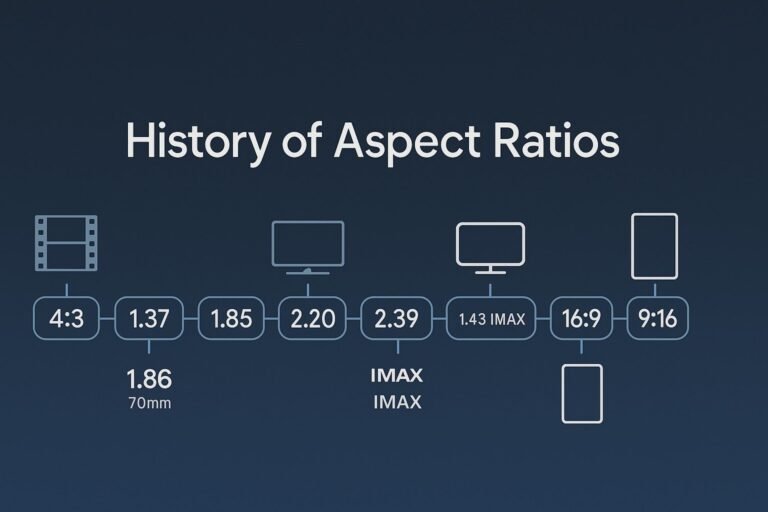
3) Common Ratios & Clean Resolutions
| Aspect Ratio | Typical Use | Clean Resolution Examples |
|---|---|---|
| 16:9 (landscape) | YouTube, widescreen | 1920×1080, 1280×720, 3840×2160 |
| 9:16 (vertical) | Reels, TikTok, Shorts | 1080×1920, 720×1280 |
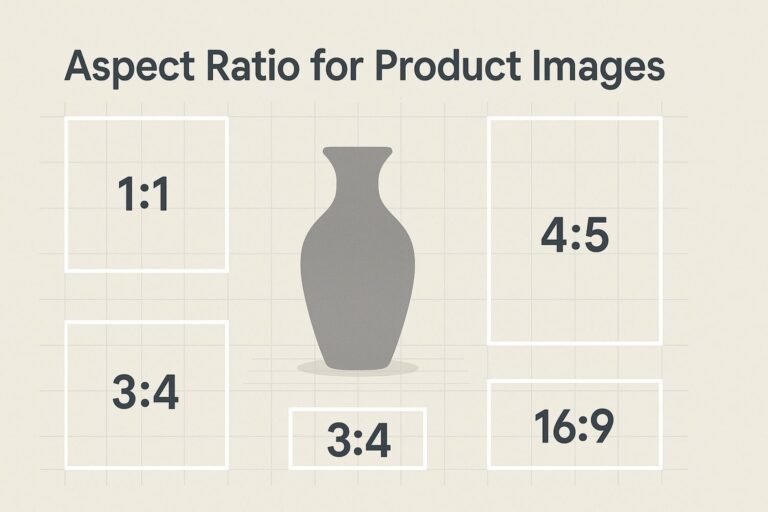
| 1:1 (square) | Feeds, grid posts | 1080×1080, 1500×1500 |
| 4:5 (portrait) | Instagram feed | 1080×1350, 1200×1500 |
| 4:3 (classic) | Slides, archive | 1024×768, 2048×1536 |
| 21:9 (ultra-wide) | Cinematic | 2560×1080, 3840×1600 |
Use an Aspect Ratio Calculator for precise width/height pairs.
4) FFmpeg: Copy-Paste Commands
FFmpeg gives you frame-accurate control. Add -y to overwrite. For best quality, we use lanczos scaling and a visually lossless CRF.
4.1 Crop to Square (16:9 → 1:1)
ffmpeg -i input.mp4 -vf "crop=ih:ih,scale=1080:1080:flags=lanczos" -c:v libx264 -crf 18 -preset slow -c:a copy output_1x1.mp44.2 Crop to Vertical (16:9 → 9:16)
Centers the crop. Nudge the subject with x if needed.
ffmpeg -i input.mp4 -vf "crop=ih*9/16:ih:(iw-ih*9/16)/2:0,scale=1080:1920:flags=lanczos" -c:v libx264 -crf 18 -preset slow -c:a copy output_9x16.mp44.3 Pad to 16:9 (no cropping, add side/top bars)
ffmpeg -i input.mp4 -vf "scale=-2:1080:flags=lanczos,pad=1920:1080:(ow-iw)/2:(oh-ih)/2:black" -c:v libx264 -crf 18 -preset slow -c:a copy output_16x9_padded.mp44.4 Pad to Square (no cropping)
ffmpeg -i input.mp4 -vf "scale=-2:1080:flags=lanczos,pad=1080:1080:(ow-iw)/2:(oh-ih)/2:black" -c:v libx264 -crf 18 -preset slow -c:a copy output_1x1_padded.mp44.5 Vertical → 16:9 with Blur Background
ffmpeg -i input.mp4 -filter_complex "\
[0:v]scale=1920:1080,boxblur=10:1[bg]; \
[0:v]scale=-2:1080[fg]; \
[bg][fg]overlay=(W-w)/2:(H-h)/2:shortest=1" \
-c:v libx264 -crf 18 -preset slow -c:a copy output_16x9_blurfill.mp4
5) Premiere Pro, Final Cut, DaVinci Resolve
Adobe Premiere Pro (Auto Reframe or Manual)
- Auto Reframe: Select your sequence → Sequence > Auto Reframe Sequence → pick Vertical 9:16, Square 1:1, or Custom.
- Manual: Sequence Settings → set frame size (e.g.,
1080×1920). In Effect Controls, adjust Position/Scale per clip. Prefer Set to Frame Size. - Export: H.264, High profile; match frame rate; target bitrate ~15–24 Mbps for 1080p social, higher for complex motion.
Final Cut Pro (Smart Conform)
- Duplicate project → Modify → set new dimensions (e.g.,
1080×1920). - Use Smart Conform to auto track subjects; tweak keyframes for headroom and eye-line.
- Export via Apple Devices or Computer; verify pixel size/aspect before saving.
DaVinci Resolve (Smart Reframe)
- Project Settings → Timeline Format → set target resolution/ratio.
- On Cut/Edit pages, use Smart Reframe or adjust Zoom/Position in the Inspector.
- Deliver: H.264/H.265; check dimensions and frame rate; restrict to constant frame rate for social platforms.
6) CapCut, iMovie & Online Tools
CapCut (Desktop/Mobile)
- Tap/click the ratio button → choose 9:16, 1:1, 4:5, or 16:9.
- Enable Auto Reframe for talking-head/action shots; refine with keyframes.
- Export 1080p at high bitrate; enable “HDR off” for consistency unless your pipeline is HDR.
iMovie (iOS/macOS)
iMovie locks to 16:9. For vertical/square, either crop within iMovie then export, or do the conversion first with FFmpeg/CapCut and then edit.
Online Converters
Look for two controls: explicit target resolution and crop vs pad. Avoid tools that stretch footage automatically.
7) Export Settings to Preserve Quality
- Scaling: Use a high-quality scaler like
lanczos. Avoid repeated resizes. - Frame rate: Keep it consistent (e.g., 29.97 → 29.97). Changing cadence introduces blur/judder.
- Bitrate/CRF: For H.264, CRF 18–20 is a good starting point; or ~12–20 Mbps for 1080p social, more for fast motion.
- Audio:
-c:a copywhen possible, else AAC 160–320 kbps stereo. - Don’t upscale unless required by the platform; soft images hurt watch time.
8) Common Mistakes
- Stretching to fill a frame (warped faces). Use crop or pad.
- Wrong order: Crop first, scale second, encode last.
- Poor subject framing: Add simple keyframes or use AI reframing to keep eyes near top-third.
- Ignoring safe areas: Leave margins for captions, buttons, and UI overlays on vertical platforms.
9) Step-by-Step: Convert Aspect Ratio Video
- Decide the method: Crop (clean), Pad (complete frame), or Smart Reframe (best for shorts).
- Pick the target size using an aspect ratio calculator (e.g., 1080×1920 for 9:16).
- Back up your original clip.
- Perform conversion: use FFmpeg commands above or your editor’s auto-reframe tools.
- Export with proper bitrate/CRF and matching frame rate.
- QA: watch on a phone; check headroom, subtitles, and any black bars.
10) FAQ
What’s the fastest way to convert 16:9 to 9:16?
Use Auto Reframe (Premiere), Smart Conform (Final Cut), Smart Reframe (Resolve), or CapCut’s Auto Reframe. They track faces and keep them centered.
How do I avoid black bars?
Choose crop or smart reframe. Padding intentionally adds bars; crop fills the frame but trims edges.
Does changing aspect ratio reduce quality?
No—if you avoid stretching, use a good scaler, and don’t upscale more than needed. Encoding choice (CRF/bitrate) also matters.
Aspect ratio vs resolution?
Ratio is the shape (width:height). Resolution is the pixel count. Different resolutions can share the same aspect ratio.
Next Step
Before exporting, confirm your exact width/height with the free Aspect Ratio Calculator—then paste one of the FFmpeg commands above or trigger Auto Reframe to finish in minutes.